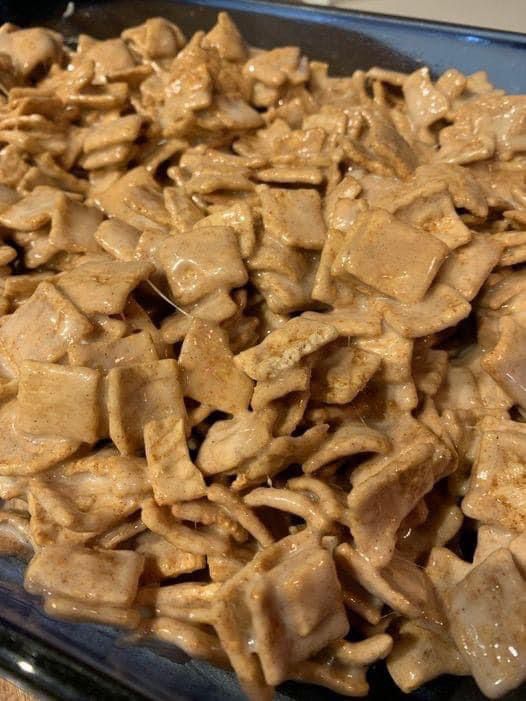
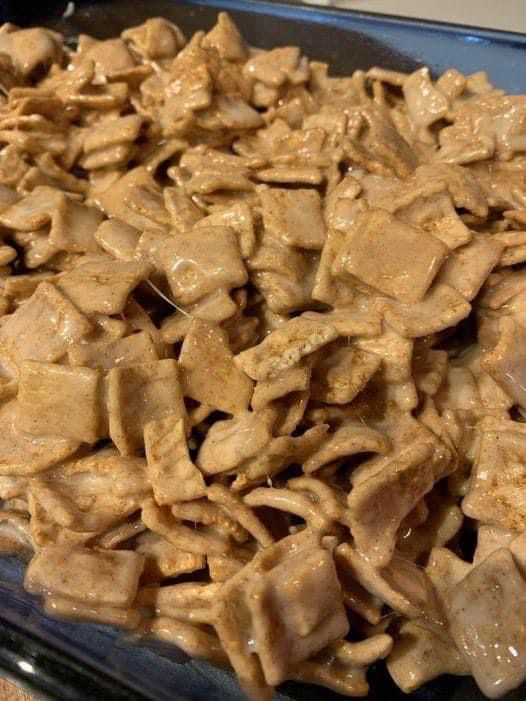
Are you in search of a quick, crowd-pleasing recipe to make with your kids? Look no further than these Cinnamon Toast Crunch Treats! This recipe puts a fun spin on the traditional Rice Krispies Treats by swapping in everyone’s favorite cinnamon-flavored cereal. The result? A gooey, crunchy dessert with a warm, spiced twist that’s perfect for any occasion.
Why You’ll Love This Recipe
• Kid-Friendly Fun: This is a hands-on recipe your kids will enjoy helping with, from mixing the cereal to pressing it into the pan.
• Quick & Simple: With just three ingredients and under an hour to make, this recipe is ideal for busy days.
• Versatile: Great for lunchboxes, after-school snacks, or dessert at family gatherings.
Ingredients
• 6 cups Cinnamon Toast Crunch cereal
• 1 package (10 oz) miniature marshmallows
• 3 tablespoons butter (salted or unsalted)
Step-by-Step Instructions

1. Prep Your Pan: Start by buttering a 9×13-inch baking dish to prevent sticking.
2. Melt the Marshmallows: In a large microwave-safe bowl, combine the marshmallows and butter. Heat in one-minute increments, stirring between each, until fully melted and smooth.
3. Combine with Cereal: Pour the cereal into the melted marshmallow mixture and stir until every piece is coated.
4. Transfer to the Pan: Dump the gooey mixture into the prepared dish. Butter your hands (this step is crucial!) and press the mixture down evenly.
5. Let It Set: Resist the temptation to dive in right away! Cover the dish with foil or plastic wrap and let it sit for about 30 minutes to firm up.
6. Cut & Serve: Once set, cut into squares and enjoy.
Storage Tips
Store your treats in an airtight container at room temperature for up to 5–6 days. Though, let’s be honest, they probably won’t last that long!
Pro Tips for Perfect Treats
• Mix Quickly: Work quickly when combining the cereal with the marshmallow mixture to ensure even coating.
• Butter Everything: From your dish to your hands, butter is your best friend for keeping things from sticking.
• Experiment: Try drizzling melted white chocolate on top or adding a pinch of sea salt for an elevated flavor.
Why Cinnamon Toast Crunch?
The hint of cinnamon brings a unique warmth to these treats, making them a standout dessert. Whether you’re packing them for a road trip or serving them at a party, they’re sure to be a hit.
Making these Cinnamon Toast Crunch Treats is as fun as it is delicious. Gather the kids, roll up your sleeves, and get ready to create a sweet memory together. And remember—licking marshmallow-covered fingers is totally acceptable!
What’s your favorite cereal-based treat? Let us know in the comments below!

Cinnamon Toast Crunch Bars
Ingredients
- 6 cups Cinnamon Toast Crunch cereal
- 1 package 10 oz miniature marshmallows
- 3 tablespoons butter salted or unsalted
Instructions
- Prepare the Pan: Lightly butter a 9×13-inch baking dish and set aside.
- Melt the Marshmallows: Combine marshmallows and butter in a large microwave-safe bowl. Heat in the microwave in 1-minute increments, stirring in between, until fully melted and smooth.
- Add the Cereal: Stir in the Cinnamon Toast Crunch cereal, mixing well to coat every piece.
- Press into the Pan: Transfer the gooey mixture into the buttered dish. Butter your hands and gently press the mixture down evenly. (It may take some patience due to the cereal’s shape, but don’t worry—it’s worth it!)
- Let Set: Allow the bars to cool and set for about 30 minutes before cutting.
- Cut and Store: Slice into squares and enjoy! Cover the bars with plastic wrap or store in an airtight container at room temperature for up to 5-6 days.
- These bars are as fun to make as they are to eat—so gather the family and enjoy a tasty project together!
